iTerm2 Tips & Tricks
Notifications
Section titled “Notifications”When you start a command in iTerm2 and you want to know when it finishes, there are a handful of tricks you can use. I only show the core concepts here, but if you would like some ideas on how to incorporate them into your workflow, you can read this blog post: Useful notifications in iTerm2.
Method 1: “say” command
Section titled “Method 1: “say” command”There is a command built in to macOS that allows you to have a string read aloud by the system voice: say. To use this to get a notification when your command finishes, just append it to the command you are running. This can also be used from other languages, by invoking a subprocess.
Advantages:
- Easy, no installation or configuration
Disadvantages:
- Notification is sound-only
- Does not work over SSH
# Run a slow command, then say that it's done over the speaker.long_running_command; say "done"
# Alternatively, if you already started the commandlong_running_command# Press ^Z to suspend the command, then use "fg" to resume itfg; say "done"MyJob.perform_now() rescue ex = $!; `say "done"`import os
def notify_after(task): try: task() finally: os.system('say "done"')
notify_after(lambda: my_slow_function())For a bit more personalization, you can also use afplay to play any audio file on your system.
# Play this sound file over the system speakersafplay /System/Library/Sounds/Glass.aiff
# List the built-in notification sounds:ls /System/Library/Sounds/
Method 2: Use iTerm2 features
Section titled “Method 2: Use iTerm2 features”iTerm2 supports several proprietary escape codes, including some that allow you to send custom notifications.
Advantages:
- Works even over SSH
- Can be combined with previous to get audio/visual notifications
Disadvantages:
- Requires adding some short functions or memorizing the escape code
Here are the escape codes as functions that you can copy/paste:
function iterm_notify {    printf '\e]9;%s\a' "$@"}
function iterm_bounce {    printf '\e]1337;RequestAttention=yes\a'}
function iterm_badge { printf "\e]1337;SetBadgeFormat=%s\a" $(echo "$@" | base64)}require 'base64'
def iterm_notify(*args) puts "\e]9;#{args.join(' ')}\a"end
def iterm_bounce puts "\e]1337;RequestAttention=yes\a"end
def iterm_badge(*args) encoded_args = [args.join(' ')].pack('m0') puts "\e]1337;SetBadgeFormat=#{badge_format}\a"endimport base64
def iterm_notify(*args): message = " ".join(args) print(f'\033]9;{message}\a', end='')
def iterm_bounce(): print('\033]1337;RequestAttention=yes\a', end='')
def iterm_badge(*args): message = " ".join(args) encoded_message = base64.b64encode(message.encode('utf-8')).decode('utf-8') print(f'\033]1337;SetBadgeFormat={encoded_message}\a', end='')The iterm_notify function sends a system notification with the provided text.
iterm_notify "It's done!"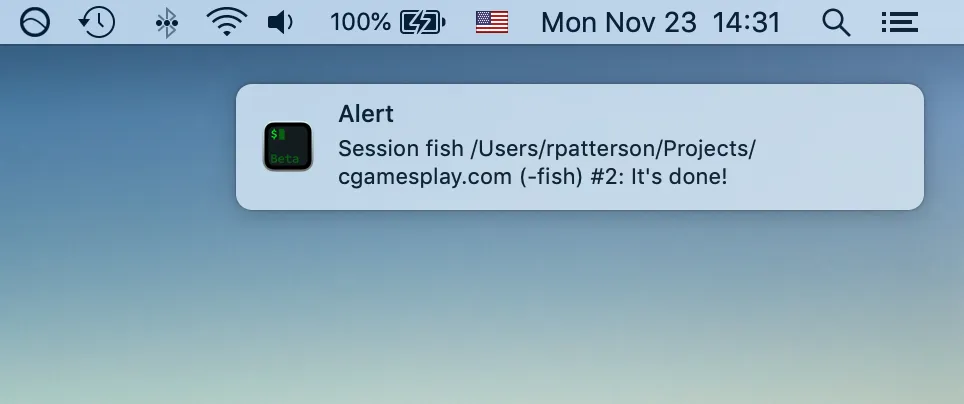
The iterm_bounce function causes the Dock icon for iTerm2 to, well, bounce.
sleep 5; iterm_bounce# Switch to another application to actually see the effect.Finally, the iterm_badge function adds a text label to the background of your terminal. This is useful for labeling tabs when you have many of them open.
iterm_badge "terminal badge preview"![]()
Method 3: Shell integration
Section titled “Method 3: Shell integration”If you use iTerm2’s shell integration, then you can use a single keyboard shortcut to get a notification when the command finishes.
Advantages:
- Activates on-demand with a keystroke
- Works even over SSH
Disadvantages:
- Notification text cannot be customized
- Requires installation on each system where you want to use it
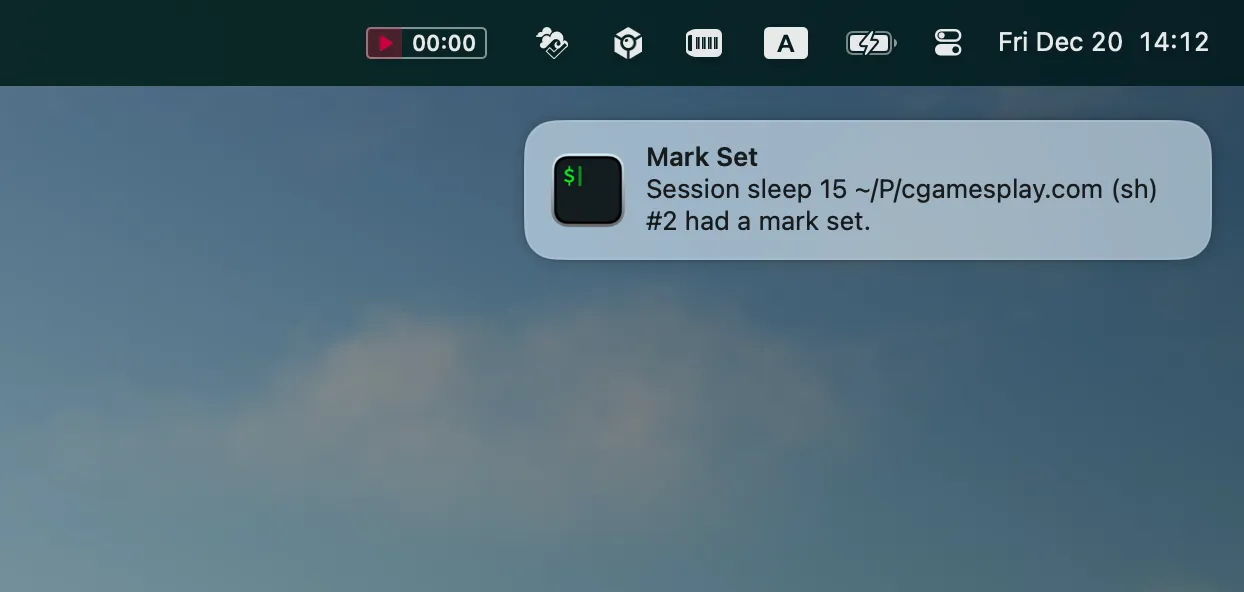
Once you have installed the shell integration, you can activate it by using Edit ▸ Marks and Annotations ▸ Alerts ▸ Alert on Next Mark, or by pressing keyboard shortcut ⌥ ⌘ A (Option-Command-A). The resulting notification looks like this: